Chevron Warehouse Rear Chevron Kit Application Guide

By David.edwards@freightproducts.co.uk 25 Sep, 2024 0 Comments
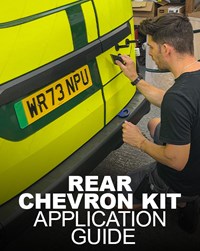
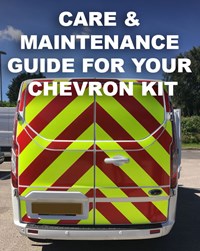
Rear Chevron Kit Application Guide
If you’ve purchased a rear Chevron Kit from Chevron Warehouse, following the correct application procedure is essential to ensure longevity, maximum safety, and a polished finish. Our comprehensive guide will walk you through the key steps to properly install your Chevron Kit.
Important Notice:
Before starting, be aware that the black numbers on the materials are for pre-installation and layout guidance only. These numbers should be removed using a water-dampened soft cloth prior to final application to avoid potential staining. We recommend removing the numbers as soon as the kit is received for best results.
Checking the Kit Before Application
Before you begin the application process, it’s vital to inspect the kit thoroughly:
- Check for Transit Damage: Open the packaging and check the kit for any damage that might have occurred during transit.
- Ensure Correct Fit: Confirm that the kit is the right one for your vehicle and that all components are present.
- Raise Queries Early: If there are any issues or doubts, raise them before starting. It’s better to resolve any problems now than risk a poor fit or incomplete kit installation.
Preparing the Vehicle for Application
Once you’ve verified that the kit is correct, it’s time to prepare the vehicle:
- Clean the Surface: Wash the area where the kit will be applied with soapy water and a soft cloth.
- Degrease the Area: After washing, degrease the surface using Isopropanol or Methylated Spirits. Avoid using White Spirit, as it can damage the livery and affect adhesion.
- Ensure Correct Temperature: Ensure that the vehicle is in a sheltered environment and the surface temperature is above 10°C, ideally between 15-20°C. Do not apply the kit to a cold vehicle, as this may hinder the adhesive’s performance.
Applying the Chevron Kit
Once the vehicle is clean and ready, you can begin the application process. Please ensure that all materials have acclimatised to at least 10°C before you begin:
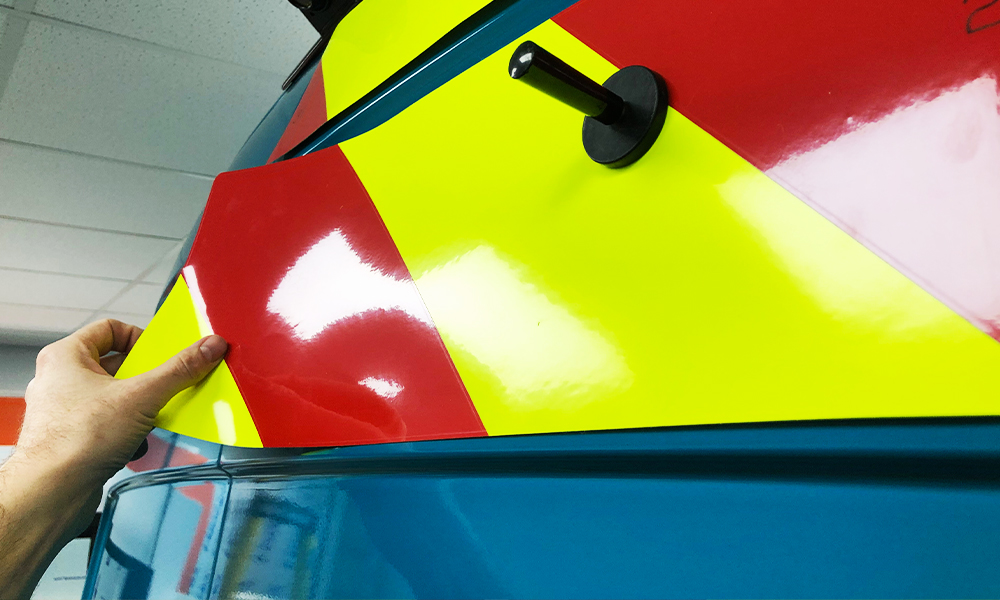
- Position the Kit: Place the individual panels onto the vehicle using removable masking tape to fix them in position.
- Align the Chevrons: Make sure the chevrons are aligned correctly and sit centrally on the vehicle.
- Adjust If Necessary: Adjust the panel positions if needed, but leave the backing paper on for now.
- Create a Hinge: Secure the longest edge of each panel with masking tape to create a hinge for easy application.
Attaching the Panels:
- Remove Backing Paper: When you're ready to apply a panel, remove the backing paper from one section.
- Squeegee the Panel: Use a squeegee to press the material onto the vehicle, working along the hinge, and taking care not to trap any air bubbles. Use overlapping vertical strokes for the best results.
- Repeat for Remaining Panels: Continue this process for the other blocks, applying them in a logical order.
Final Touches:
- Re-check Edges: Once all panels are applied, remove any remaining masking tape and check that the edges are securely adhered. If any edges are lifting, re-squeegee the area for a stronger bond.
- Apply Gentle Heat if Needed: If it’s cold, you can use gentle heat from a hairdryer to help secure the edges.
- Cure Time: Ideally, leave the vehicle in a warm, dry environment for 24 hours to allow the adhesive to fully cure.
Dealing with Bubbles or Creases:
- Small Bubbles: Don’t worry if you notice small bubbles—they will naturally disappear within a few days.
- Large Bubbles: If larger bubbles are present, pierce them with a sharp pin or blade and carefully squeeze out the trapped air.
- Creases: If there are any creases in the livery, heat the area with a hairdryer and re-squeegee to smooth them out.
Removing the Number Markings:
After the kit is applied, use a damp cloth to gently remove any remaining number markings from the kit, being mindful not to lift any exposed edges.
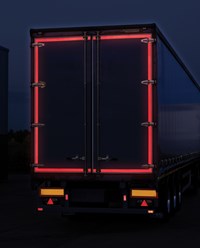
Applying Red Retro Reflective Tape:
Finally, apply the supplied red retro-reflective lozenges to all rear-facing edges of open doors, guard rails, and equipment lockers. Use the same method as described above for applying the lozenges to ensure they are securely fixed.
Summary
Proper installation of your Chevron Kit ensures maximum safety, visibility, and durability. Following the correct preparation and application steps not only protects your vehicle but also guarantees that the chevron panels remain securely in place for years to come.
For any questions or further advice, please feel free to reach out to the Chevron Warehouse team—we’re always here to help!